
Photographing a Rental Apartment - A Photo Guide
Learn how to take professional photos of your rental apartment that attract tenants. Practical tips on lighting, angles, staging, and equipment to make your listing stand out.
15 Aug 2026 · 8 min · Zespół Brokik
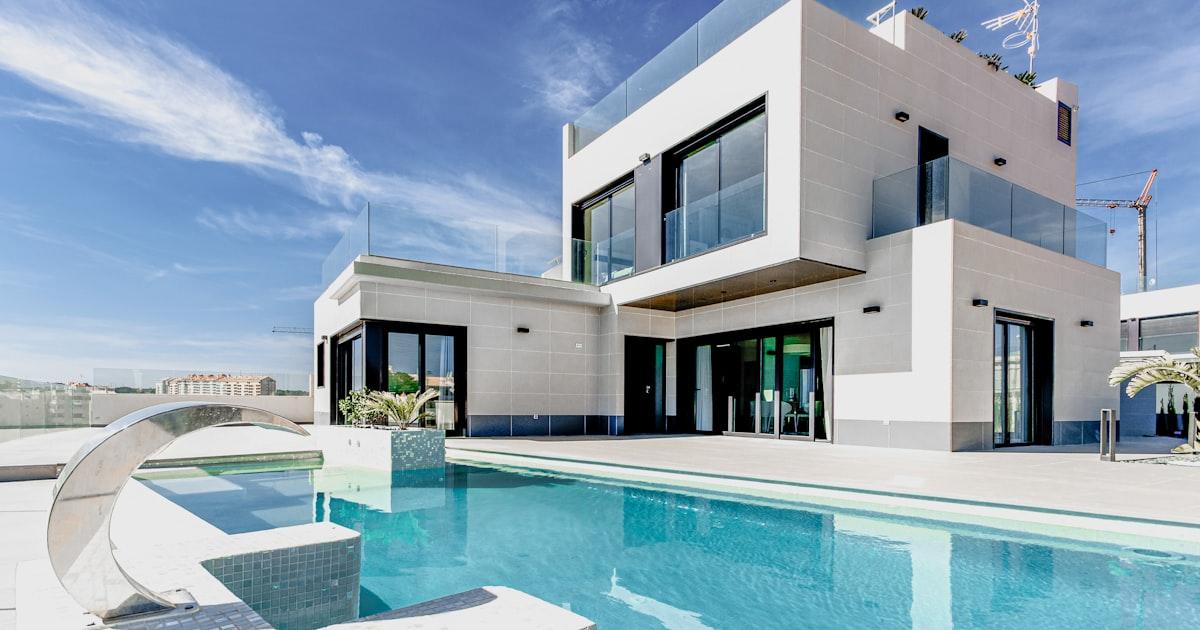
Photographing a Rental Apartment — A Complete Photo Guide
First impressions matter, and in the world of property rentals, the first impression almost always comes from photographs. According to research, listings with professional-quality photos receive up to 118% more views and rent out significantly faster than those with amateur snapshots. Whether you manage a single flat or an entire portfolio, mastering rental photography is one of the most cost-effective investments you can make.
In this comprehensive guide, we walk you through everything you need to know — from choosing the right equipment and preparing the space, to composing each shot and post-processing the images. By the end, you will have a repeatable workflow you can apply to every property in your portfolio.
1. Why Photo Quality Matters
Online property portals have become the primary marketplace for rental apartments. Prospective tenants scroll through dozens — sometimes hundreds — of listings, and they typically spend fewer than three seconds deciding whether to click on one. High-quality photos are the single most important factor that drives those clicks.
Great photos do more than just attract clicks: they set realistic expectations, reduce unnecessary viewings, and position you as a professional landlord. When tenants see a well-presented listing, they trust the property is well-maintained, which can justify a higher rent and attract more reliable applicants.
2. Equipment — What You Actually Need
You do not need a professional camera to take excellent rental photos, although one certainly helps. Here is a practical breakdown of equipment options:
- Smartphone (modern flagship): Phones released in the last two or three years have wide-angle lenses and computational photography features that produce remarkably good interior shots. This is the minimum viable option and is perfectly adequate for most listings.
- Mirrorless or DSLR camera with a wide-angle lens: A focal length between 16 mm and 24 mm (full-frame equivalent) captures rooms in their entirety without excessive distortion. If you manage many properties, investing in a camera body and a single wide-angle zoom pays for itself quickly.
- Tripod: Stability eliminates blur and ensures consistent framing. A lightweight travel tripod is sufficient for interior work.
- External flash or portable LED panel (optional): Useful for rooms with limited natural light, but not essential if you time your shoot correctly.
3. Preparing the Apartment Before the Shoot
Preparation is half the battle. No amount of post-processing can compensate for a cluttered, dirty space. Follow this checklist before you pick up the camera:
- Deep clean everything: Floors, windows, mirrors, kitchen surfaces, bathroom tiles. Clean glass reflects light beautifully and makes rooms look brighter.
- Declutter aggressively: Remove personal items, excessive decorations, toiletries, cables, and anything that does not contribute to the visual appeal of the space. Less is more.
- Stage thoughtfully: A few well-chosen accessories — fresh flowers, a neatly folded throw on the sofa, coordinated cushions, a bowl of fruit in the kitchen — add warmth without creating clutter.
- Open curtains and blinds: Maximise natural light. If the apartment has attractive views, make sure they are visible through the windows.
- Turn on all lights: Even during the day, ambient lighting from lamps and ceiling fixtures eliminates dark corners and adds warmth to the image.
- Close toilet lids and hide bins: Small details matter. Ensure the bathroom looks spa-like rather than lived-in.
If you use a property management platform like Brokik, you can store a reusable staging checklist for each apartment, ensuring consistency every time you prepare for a photo session or a viewing.
4. Lighting — The Most Important Technical Factor
Lighting determines the mood and quality of every photograph. Natural light is almost always preferable to artificial light for interior photography.
- Best time of day: Shoot during the golden hours — shortly after sunrise or about an hour before sunset — or on an overcast day when the light is soft and diffused. Harsh midday sun creates strong shadows and blown-out highlights.
- Direction of light: Position yourself so that the main light source (usually a window) is to the side or behind you, not directly in front of the camera. Shooting into a bright window results in silhouetted interiors.
- Balance mixed lighting: If the room has warm-toned bulbs and cool daylight, consider switching off the artificial lights or replacing bulbs with daylight-balanced ones to avoid colour casts.
- HDR technique: Most modern smartphones have an HDR mode that blends multiple exposures, preserving detail in both shadows and highlights. Use it for rooms with large windows.
5. Composition and Camera Angles
Composition separates amateur snapshots from professional-looking images. Follow these principles to elevate your photos:
- Shoot from corners: Positioning yourself in a corner of the room and pointing the camera diagonally across the space maximises the perceived size and captures more of the layout.
- Camera height: Hold the camera at roughly waist to chest height. Shooting from eye level tilts the perspective downward, while shooting too low exaggerates floor space at the expense of walls and ceilings.
- Keep verticals straight: Vertical lines — door frames, walls, cabinet edges — should be perfectly vertical in the image. A tripod and a level help achieve this. Tilted verticals are the hallmark of amateur photos.
- Capture each room from two or three angles: Include a wide establishing shot, a secondary angle, and at least one detail shot (e.g., a close-up of a kitchen countertop or a bathroom fixture).
- Show the flow: Photograph doorways and hallways to help viewers understand how rooms connect. This is particularly important for larger apartments.
6. Room-by-Room Guide
Every room has its own photographic challenges. Here is a tailored approach for the most common spaces:
- Living room: Shoot from the entrance or a corner. Include the largest window to show natural light. Stage with cushions, a throw, and a coffee-table book or plant.
- Kitchen: Clear all countertops except for one or two decorative items. Photograph from the doorway to show the full layout. Take a detail shot of the countertop or appliances.
- Bedroom: Make the bed with fresh, neutral-coloured linen. Shoot from the foot of the bed towards the headboard and window. Ensure nightstands are tidy.
- Bathroom: Clean every surface until it gleams. Add a fresh towel and perhaps a small plant. Shoot from the doorway. Avoid capturing your own reflection in mirrors.
- Balcony or terrace: Clean the railing and floor. Add a small table and chair if space allows. Shoot both the outdoor area itself and the view from it.
7. Editing and Post-Processing
Post-processing should enhance, not misrepresent. Heavy filters and unrealistic edits lead to disappointed viewers and wasted viewings. Stick to these adjustments:
- Straighten and crop: Correct any tilt and crop out distracting elements at the edges of the frame.
- Adjust exposure and contrast: Brighten slightly if needed and add a touch of contrast to make the image pop.
- Correct white balance: Ensure colours look natural. Walls should appear their true colour, not orange or blue.
- Sharpen moderately: A small amount of sharpening enhances detail, but too much introduces noise and artefacts.
- Free tools: Lightroom Mobile (free tier), Snapseed, and VSCO all offer excellent editing capabilities for rental photography.
8. Organising and Using Your Photos
Once you have your final images, organisation is key. Name files consistently (e.g., property-address_room_number.jpg) and store them in a logical folder structure. If you manage multiple properties through Brokik, you can attach photos directly to each property profile, creating a visual archive that is always up to date and accessible when you need to refresh a listing or prepare a handover protocol.
When publishing your listing, lead with the strongest image — typically the living room or a bright kitchen — and arrange the remaining photos in a logical walk-through order: entrance, living areas, kitchen, bedrooms, bathrooms, and finally outdoor spaces.
9. Common Mistakes to Avoid
- Using flash as the primary light source: On-camera flash creates harsh shadows and flat images. Use natural light instead.
- Shooting in portrait orientation: Landscape (horizontal) orientation is the standard for real estate photography and displays correctly on all platforms.
- Including mirrors that show the photographer: Reposition or shoot at an angle to avoid reflections.
- Over-editing or using heavy filters: The goal is an accurate yet flattering representation of the property.
- Neglecting exterior and common areas: The building facade, entrance hall, and shared garden are part of the tenant\'s experience. Photograph them too.
Summary
Professional-quality photography is one of the most effective ways to reduce vacancy periods and attract quality tenants. By investing a few hours in preparation, learning basic composition techniques, and applying light post-processing, you can dramatically improve how your properties are perceived online.
Platforms like Brokik help you manage the entire rental process — from storing property photos and creating listings, to signing contracts and tracking payments — so that every aspect of your landlord workflow is streamlined and professional.
Handing over the flat?
Fill in the protocolRelated articles
20 Sep 2026 · 10 min
Working with a Property Manager — When to Delegate Management
Should you manage your rental properties yourself or hire a property manager? Discover when delegation pays off, how to choose the right manager, and how to maintain control over your investment.
2 Sep 2026 · 9 min
How to Write an Effective Apartment Rental Listing
Master the art of writing rental listings that attract quality tenants fast. From compelling headlines to detailed descriptions and strategic keyword use, learn what makes a listing stand out.
28 Jul 2026 · 9 min
Furnishing a Rental Apartment — What Works and What Does Not
Discover which furniture and appliances deliver the best return in rental properties. Learn practical tips on furnishing standards, durability, and smart budgeting to maximize tenant satisfaction and minimize costs.